1. Identify what is actually damaged
Look at the print and the digital copy separately. A white streak might be a scratch in the photograph, a reflection from the paper, or a mark on the scanner glass. If it appears only in your new capture, retake or rescan the image first. Restoration should not have to compensate for avoidable capture problems.
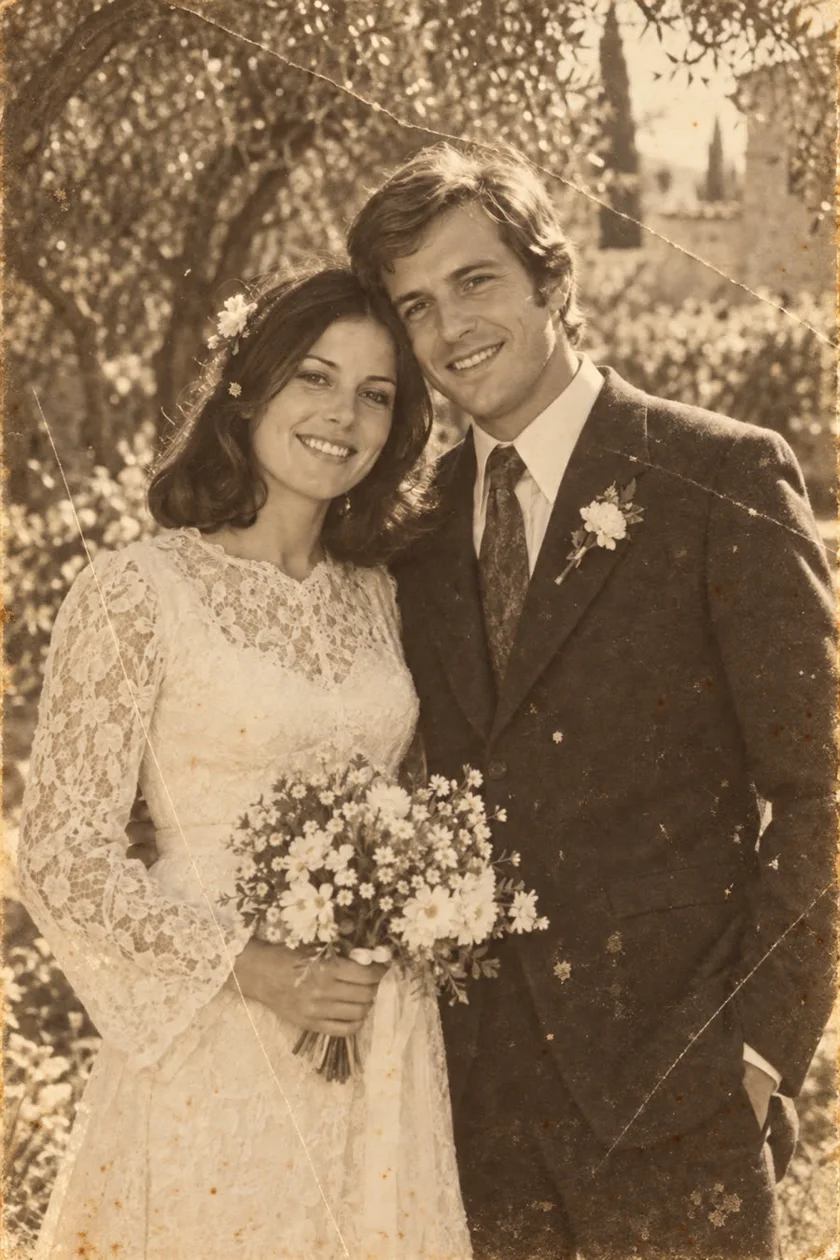
Next, note where each real mark crosses the image. A thin line over an even background gives an editor nearby texture to work from. A tear across eyes, fingers, or a patterned uniform has a greater chance of changing something meaningful.
| Damage | What to check in the result |
|---|---|
| Fine scratches on a plain background | Repeated texture, smudges, or an obvious soft patch. |
| A crease across a face | Eye shape, mouth, expression, and facial proportions. |
| A missing corner containing a person | Whether the replacement invents anatomy or clothing. |
| Damage over writing or a badge | Whether letters or symbols have been invented. |
2. Preserve the evidence before editing
Keep a full, unedited capture and make restoration attempts from a copy. Include the edges when photographing the print; crop the surrounding table separately. If the photograph is in pieces, stuck to another surface, or cannot be handled safely, seek a photograph conservator. The National Archives identifies stuck and fragmented originals as situations that may need professional treatment.
Do not rub a scratch, apply a household cleaner, or add tape for the sake of the scan. Digital repair changes an image file; conservation treats the physical object. These are different jobs.
3. Try one restoration and inspect the important areas
On Android, select the digital copy in PixAgain and tap Restore photo. The first successful photo restoration is free, and processing requires an internet connection. PixAgain uses a simple restoration workflow; it does not provide a brush for marking individual scratches.
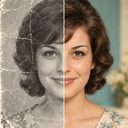
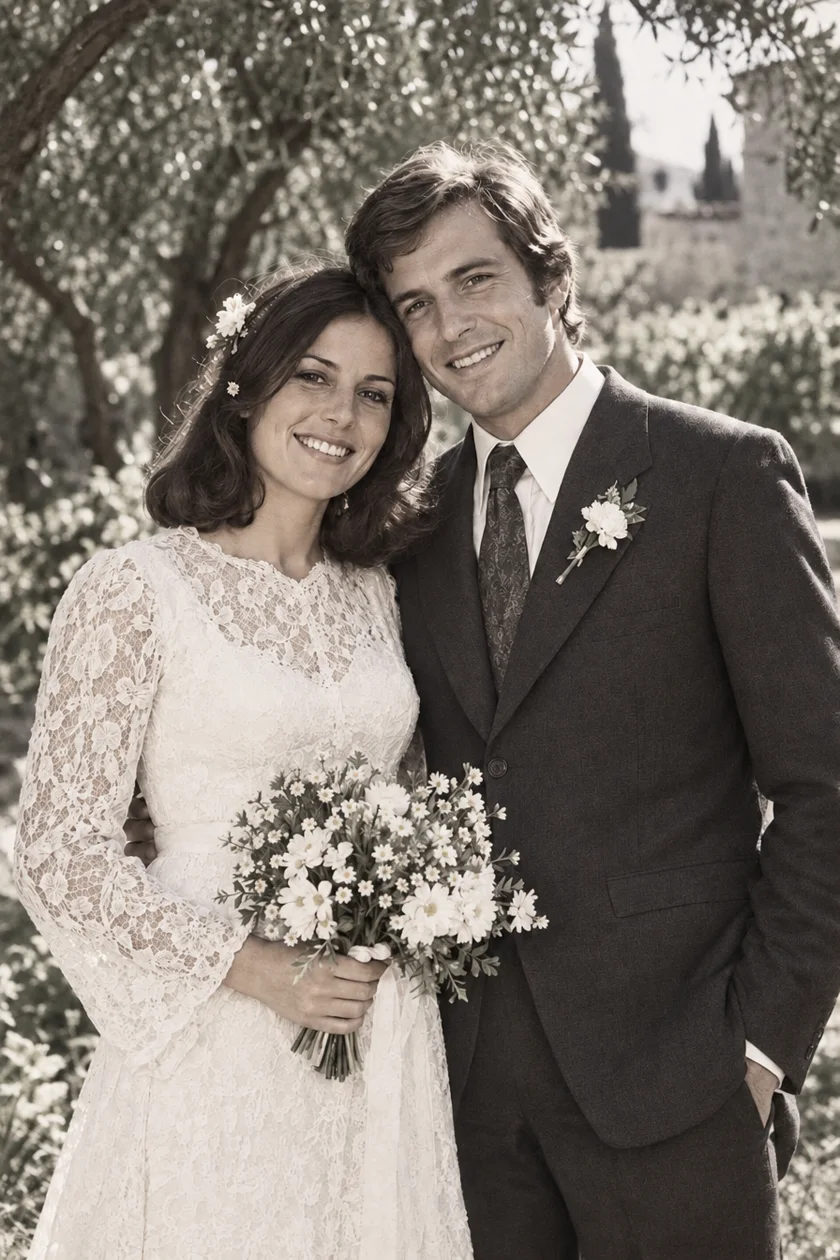
Compare the result at a comfortable viewing size, then enlarge the damaged areas. A clean background is useful, but a changed face is not a good trade. Check the unmarked parts too: hair, wrinkles, fabric patterns, and small jewellery should not disappear merely because they resemble noise.
- Is the scratch less visible without a new obvious patch?
- Do people still have the same expression and distinguishing features?
- Have untouched objects, text, and clothing stayed plausible?
- Would the result still look right next to another photo from that day?
4. Know when selective editing is more useful
If the overall image improves but one small area becomes inaccurate, a manual restoration can offer more control over which pixels are changed. Adobe documents non-destructive Neural Filter outputs, including new layers and masked layers. That is a different workflow from PixAgain’s single Restore action and requires an editor that supports those controls.
For a large missing area, decide whether you want a plausible family keepsake or a conservative historical copy. Neither AI nor a retoucher can verify an unseen detail from this photograph alone. Another original image can provide a reference, but a generated completion remains a reconstruction.
5. Keep both versions, with clear names
Save the original scan and the restored version together. If the edit rebuilds part of a face or replaces missing content, mention that when sharing it. For a family history project, keep dates and identifications in a separate note rather than trusting any newly sharpened lettering. The best result is one you can enjoy without losing the original evidence.
Restore the photo. Keep the feeling.
Start with one free restoration. Decide what comes next after you see your result.
 Plans ↗
Good questions.
Can AI remove every scratch from an old photo?
No. Results depend on the capture, the extent of the damage, and what lies under the mark. Severe damage may leave artifacts or require invented detail.
Can I mark a scratch with a brush in PixAgain?
No. Select a photo and use Restore. If you need local masks or brush corrections, use a manual photo editor or a restoration service.
Should I repair a torn print with tape first?
Do not add tape just to prepare a scan. If handling could make the damage worse, seek advice from a photograph conservator and keep the original safely supported.
Sources & further reading
- US National Archives: repairing existing damage ↗
- Adobe: non-destructive Neural Filter output options ↗
Written with AI assistance; product details checked against PixAgain. Read our editorial approach.