
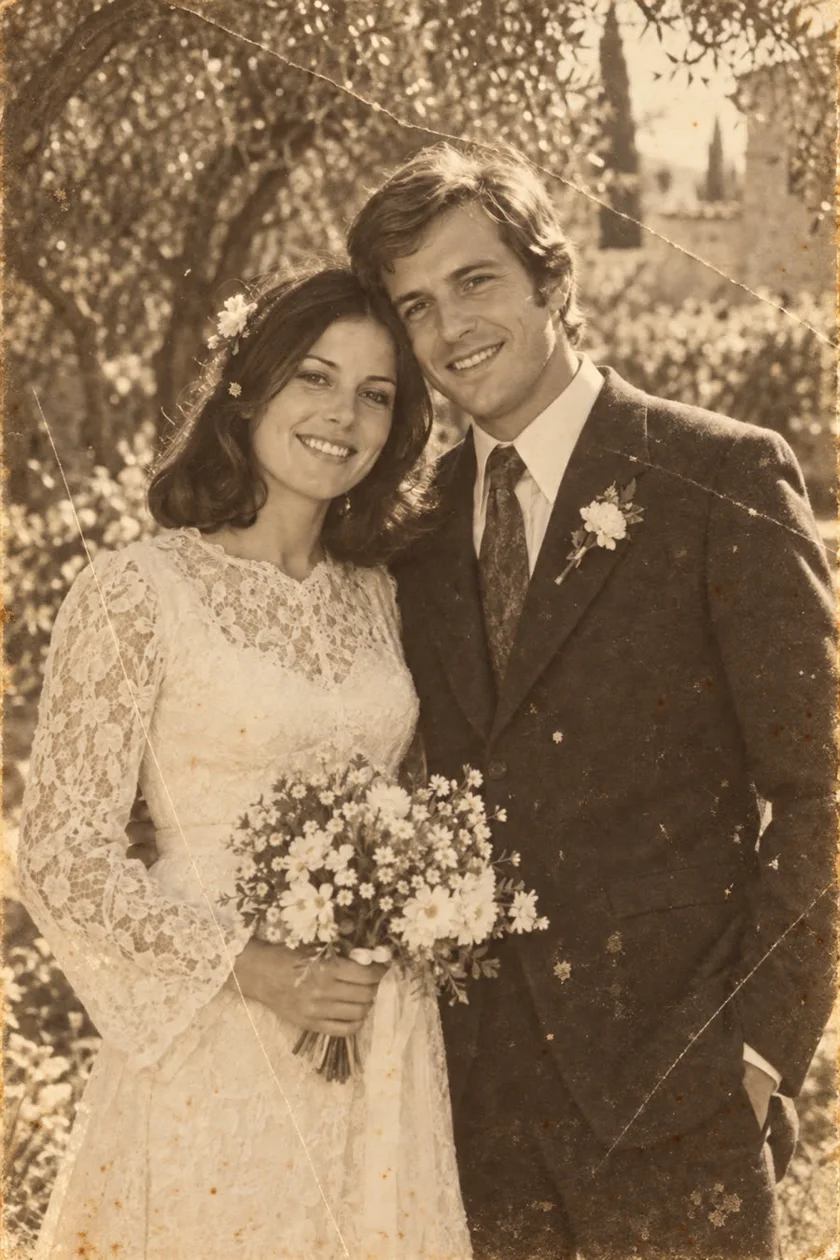
1. Check the print before moving it
Keep the physical photograph and an untouched digital copy. The US National Archives explicitly recommends retaining originals after digitization. If a print is firmly attached to an album, do not pull it out just to obtain a cleaner crop. Photograph the page as it is.
Choose a clear working area. Remove a loose print from a frame only if it comes out easily. If it is stuck to glass, brittle, or flaking, stop: improving a digital copy is not worth damaging the only original.
2. Make one clear phone capture
Use the rear camera in its ordinary photo mode. Wipe the phone lens, place the print on a plain surface, and hold the phone parallel to it. Fill most of the frame while retaining all four edges. Avoid digital zoom and filters; you want a source file, not an already processed portrait.
Start with soft, even light and no direct flash in the normal camera app. Move the light or your position if the surface reflects a window. Tap the photograph to focus, hold steady, and take two shots. Compare the small details before putting the print away.
- Faces blurred but the table sharp? Refocus on the print and retake it.
- One side larger than the other? Make the phone parallel to the photograph.
- A bright patch hides the image? Fix the reflection before restoration.
- The phone casts a shadow? Change the lighting or move farther away.
3. Choose the capture method that fits the print
Google PhotoScan is a separate scanning app with a guided capture process and glare removal. Its flash guidance differs from an ordinary single camera shot: follow PhotoScan’s own instructions when using it. Check the finished scan for awkward joins around faces and for accidentally cropped borders.
For a flatbed scanner, make sure the whole photograph fits on the glass without pressure from the lid. With either method, inspect the actual saved image rather than assuming a larger file must contain more useful detail.
| What you have | A practical starting point |
|---|---|
| A loose, flat print | Phone capture or a flatbed scanner; compare face detail. |
| A glossy print with reflections | Change the light or try PhotoScan’s glare removal. |
| A photograph fixed in an album | Photograph the page without forcing it flat. |
4. Restore a copy, then compare
Save the unedited capture first. Make a separate crop to remove the table or album surround without cutting off people. Transfer the original file to your Android phone if you scanned it elsewhere; avoid using a screenshot or a compressed messaging-app preview.
Open PixAgain, select the photo, and tap Restore photo. The image is processed by remote AI, so an internet connection is required. The first successful photo restoration is free. Look at the result beside your saved capture, especially the eyes, mouth, lettering, and jewellery. Newly generated detail is an interpretation, not proof of what was in the original scene.
5. Save the story with the image
Name the files so you can tell the capture and restoration apart: for example, family-picnic-original and family-picnic-restored. Keep a note of names, places, and dates, marking guesses as uncertain. Photograph handwritten information on the back separately. Store another copy away from the phone so a lost device does not take the family archive with it.
Restore the photo. Keep the feeling.
Start with one free restoration. Decide what comes next after you see your result.
 Plans ↗
Good questions.
Do I need a scanner to restore an old photo?
No. A sharp, evenly lit phone photograph can be a useful starting point. Inspect reflections and face detail before sending it for restoration.
Should I restore a screenshot from a family chat?
Ask for the original image file or rescan the print when possible. A screenshot may contain less usable detail and interface elements that were never part of the photograph.
Does PixAgain scan the paper photograph?
PixAgain restores an image you select from your phone. Capture the paper photograph with your camera or a scanning app first.
Sources & further reading
- US National Archives: digitizing family papers and photographs ↗
- Google Photos Help: scan your photos with PhotoScan ↗
Written with AI assistance; product details checked against PixAgain. Read our editorial approach.